
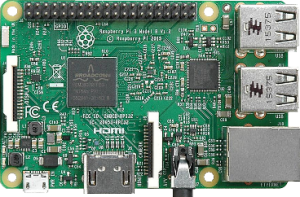
 The Raspberry Pi can be turned into a cheap, low power, always on seedbox. Compared to more pricey alternatives, like a NAS for example, the Pi does the seedbox job pretty well. And it does this even if it lacks the processing power of a NAS.
While nothing prevents you from using just the Raspberry Pi alone for seeding torrents, a powered HDD is a welcome addition. If you stick to the SD card alone, you won’t get much storage space and loose I/O speed. Also you risk wearing out the SD card itself with repeated reads and writes.
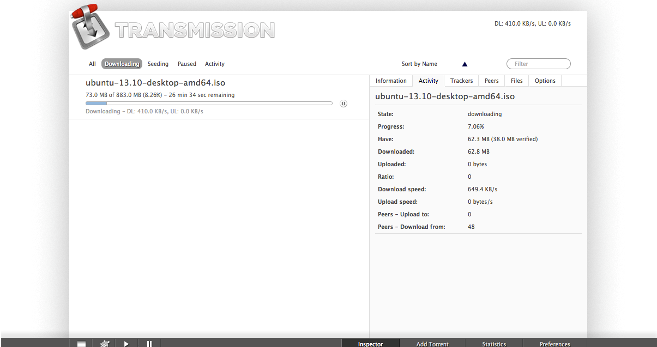
The bit torrent client we will use to turn the Raspberry Pi into a seedbox is called Transmission. It includes a GUI, a built in web interface and a background service. The base software package has everything we need but we can also improve some of its aspects. For example we can replace the default web UI with a better one that has a more modern feeling.
You can visit Transmission’s webpage at https://transmissionbt.com/
Setting up the Seedbox
Start by opening a terminal window and dropping into a root shell.
sudo su
Update the list of available packages.
apt-get update
Install transmission and transmission-daemon.
apt-get install transmission transmission-daemon
By default, if the service is running, the configuration file gets overwritten at service exit. We don’t want that to happen so we will stop the service.
service transmission-daemon stop
It is now safe to edit the configuration file
nano /etc/transmission-daemon/settings.json
This file follows the standard JSON format. Make sure to surround configuration parameters with double quotes. We need to update the following values:
- “download-dir”
- “rpc-enabled”
- “rpc-username”
- “rpc-password”
- “rpc-port”
- “rpc-whitelist”
Input your desired download path here. Also make sure that this directory is writable by the debian-transmission user the service runs on.
Set it to true so remote connections are enabled.
This is the username for connecting to the web interface.
The default password is transmission. Make sure to change it to something more secure. Also, it is safe to input a clear text password here because it will be encrypted at service restart.
The default port is 9091. You can change this as you desire.
By default you can only access the web interface from localhost. Change this to something more suitable so you can access it from the local network. This setting supports wildcards so you can set it to 192.168.*.* for example.
After editing the configuration it is safe to start the transmission service.
service transmission-daemon start
Check if the web interface is accessible by opening up a browser and pointing it to 127.0.0.1:9091. Make sure to use the correct port number if you have changed it in the configuration file.
Service startup issues
If you use DHCP to get the IP address for your Raspberry Pi, your seedbox needs some adjustments. Because the transmission service can start before the DHCP client assigned an IP to your Raspberry Pi, the web interface can be inaccessible. This is caused by the service not binding to the IP address supplied by the DHCP server. If you have a static IP assigned to your Pi, you may not be affected by this issue.
In order to solve this problem you will need to delay the boot until the DHCP client has finished setting up the network interfaces. You can turn this feature on by using the built in raspi-config utility.
Open a terminal and type
sudo raspi-config
Navigate to Boot Options and then to Wait for Network at Boot. Choose Yes at the final prompt. At the next reboot transmission should bind to the correct IP address and the web interface will become accessible.
Better UI for the seedbox
While the default web interface is more than enough, we can always improve by installing a custom one. My choice is the Ketu web UI, currently hosted on GitHub at https://github.com/endor/kettu.
Installing Ketu is simple. Open up a terminal and drop into a root shell.
sudo su
Install Git because we will need it to grab Ketu.
apt-get install git
Back up the existing web interface in case you want to switch back to it.
mv /usr/share/transmission/web /usr/share/transmission/web.bak
Clone Ketu using the Git client we just installed.
git clone git://github.com/endor/kettu.git /usr/share/transmission/web
Reload the service so it picks up the new web interface.
service transmission-daemon reload
Happy torrenting!
T3ZlciBBbmQgT3V0IQ==
Be First to Comment